Many photographers today want to know how to take macro pictures, thanks to a growing number of beautiful images online of small plants, animals, and insects. Macro photography is not always easy, especially for beginners, but it is one of the most rewarding genres of photography you can do. With the right skills, you will be able to capture amazing images even in your own backyard. To learn macro photography from start to finish, you should begin by reading the tips and techniques in this guide, taught by an award-winning macro photographer exhibited at the Smithsonian Museum of Natural History. By the end, you will know exactly how to put these recommendations into practice and capture stunning macro photographs for yourself.
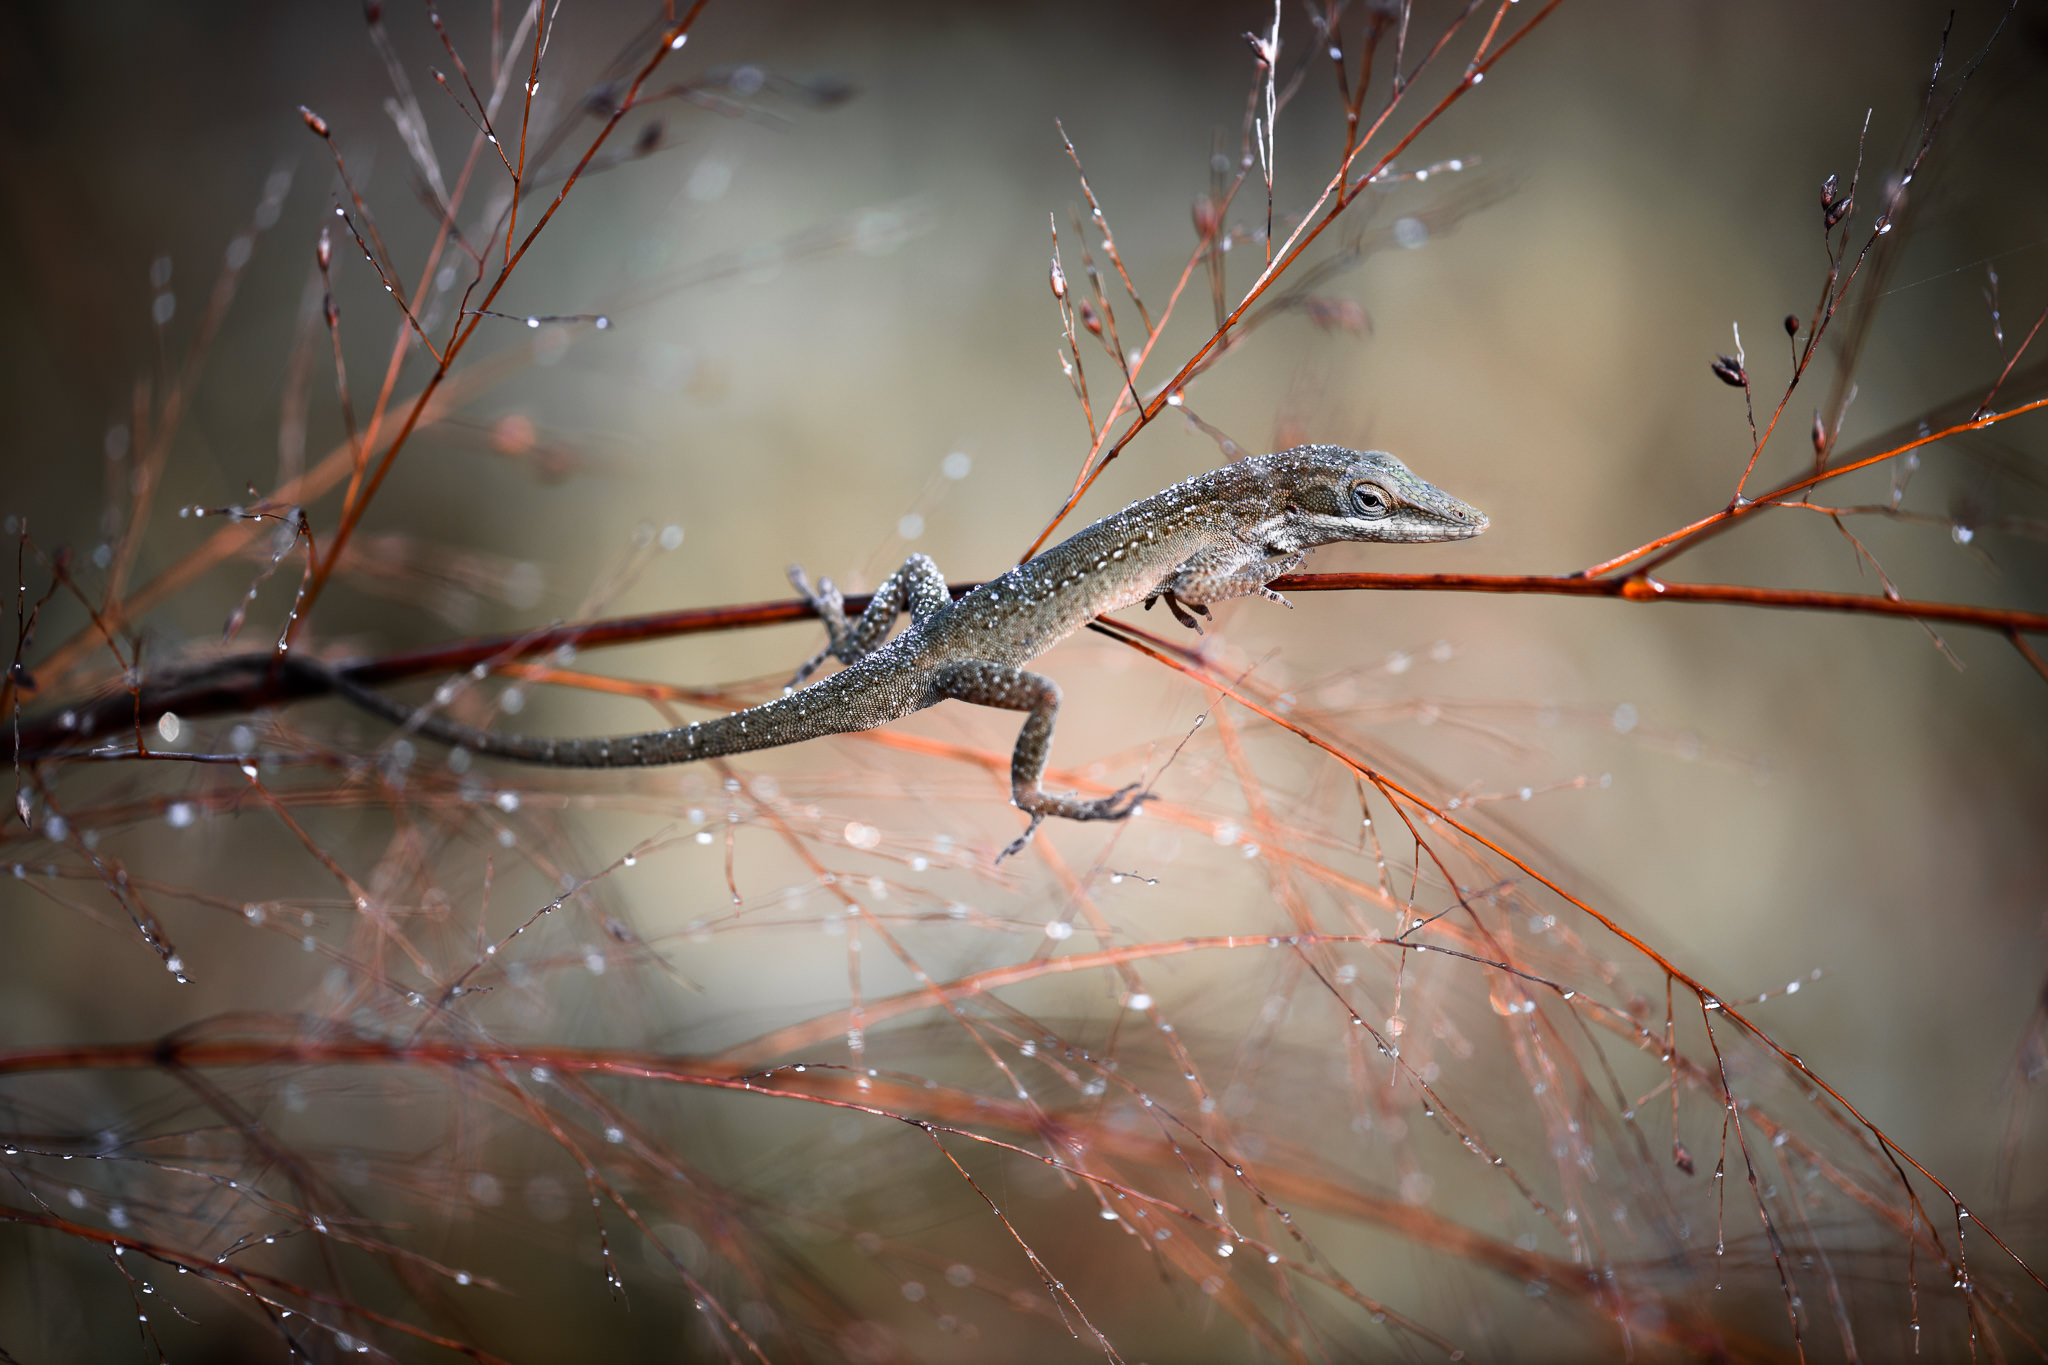
NIKON D800E + 105mm f/2.8 @ 105mm, ISO 100, 1/640, f/3.2
Before anything else, if you’re more of a visual learner, you may want to watch the following video we created to introduce macro photography. It covers many of the same topics as this article, although some sections have been shortened for the sake of video length:
What Is Macro Photography?
Macro photography is close-up photography of small subjects, including things like bugs and flowers. You can take macro pictures in a studio or outdoor environment so long as you are magnifying your subject sufficiently.
Officially, you may hear that macro photography only happens when you take pictures of small subjects with a magnification of “life size” or greater. I will cover more about the meaning of magnification and life-size in a moment, but essentially it means that you must take pictures where your subject is the same size as your camera sensor or smaller, and it fills the frame. (So, if your camera sensor is one inch wide, you would be photographing something 1 inch or smaller.)
That is a very strict definition, and frequently you will hear photographers call an image “macro” even when it shows a slightly larger subject. The same is true of the photos in this article, many of which do not fit this technical definition, but they are close-up photographs nevertheless.

Introducing Macro Photography for Beginners
How do you take macro photos? Here are the most important steps:
- Understand macro photography terminology.
- Pick the right camera and lens equipment.
- Get enough depth of field.
- Pick camera and flash settings for a well-lit photo.
- Focus on the most important part of your subject.
- Learn the common behaviors of various insects.
- Compose and take your picture.
Some of these are harder to do than you might think, such as getting enough depth of field and focusing on the most important part of your subject. However, the tips in the rest of this macro photography tutorial will give you a good idea of where to begin, and you should be able to master everything with a bit of practice.

What Is Magnification?
In macro photography, it is important to know how large or small your subject appears on your camera sensor. Comparing this number versus your subject’s size in the real world gives you a value known as your magnification.
If that ratio is simply one-to-one, your subject is said to be at “life size” magnification. For example, if you’re photographing something that is one centimeter in length, and it is projected exactly one centimeter onto your camera sensor, it is at life size (regardless of the size of your camera sensor).
Typical sensors in DSLRs and mirrorless cameras range from about about 17 millimeters to 36 millimeters across. So, a 1 cm subject is pretty big by comparison, taking up a significant portion of your photo. If you end up making a large print, that tiny object will appear huge – potentially billboard sized!
To make things easier to understand and compare, macro photographers use an actual ratio rather than always saying “life size” or “half life size.” Specifically, life size is 1:1 magnification. Half life size is 1:2 magnification. Once you get to about one-tenth of life size, you arguably are not doing close-up or macro photography any more.
Good macro lenses let you shoot at 1:1 magnification, and some specialized options do even more than that. (Canon has a macro photography lens that goes all the way to 5:1, or 5x magnification, which is insane!) However, other lenses on the market called “macro” may only go to 1:2 magnification or even less. Personally, my recommendation is to get a lens that can go to at least 1:2 magnification, and ideally 1:1 magnification, if you want as much flexibility as possible.

What Is Working Distance?
Working distance is easy: It’s the distance between the front of your lens and your nearest subject. If your working distance is too small, you might end up scaring your subject or blocking the light simply because you are too close. Ideally, you will want a working distance of six inches (15 centimeters), with the best case scenario being twice that or more.
The working distance of a lens is smallest at 1:1 magnification, since you obviously must be as close as possible to your subject to capture such extreme photos. Also, lenses with a longer focal length have more working distance than lenses with a more moderate focal length. For example, the Nikon 200mm f/4 and the Canon 180mm f/3.5 are two examples of macro photography lenses with large working distances. By comparison, the Nikon 60mm f/2.8 macro lens has much less working distance.
It is always best to look for a lens with the largest possible working distance so that you are less likely to scare your subject or cast a shadow on it. However, macro lenses with a longer focal length like 180mm or 200mm are generally more expensive. If you want to balance price and working distance, consider a lens in the range of 100mm to 150mm. Personally, I use a 105mm macro lens.

Best Cameras for Macro Photography: DSLR vs Mirrorless
For macro photography, both DSLRs and mirrorless cameras can work very well. The key is to pick a camera that lets you use a good macro lens, and ideally one which has as little lag as possible between seeing your subject, pressing the shutter button, and having the image recorded. Traditionally, these both were areas where DSLRs held an advantage, due to lagging electronic viewfinders and fewer native macro lenses on mirrorless cameras. Today, those differences are generally negligible, and sometimes lean in favor of mirrorless.
Mirrorless cameras also frequently have other benefits that you might find useful, such as focus peaking (an overlay that shows which parts of your subject are in focus – helpful for manual focus macro photography). Also, the ability to review your photos without taking your eye from the viewfinder is valuable if you want to judge things like sharpness and flash exposure quickly.
The only thing I would caution is that, if you do pick a mirrorless camera, you should get one with an electronic viewfinder. Trying to compose and hold a macro photo steady with a rear LCD screen, especially at extreme magnifications like 1:1, is a nightmare. Since mirrorless cameras with electronic viewfinders frequently cost more than a competing DSLR, you might want to pick up a DSLR (potentially a used one) if you are on a budget. But all of this is very picky. Regardless of the camera, you will be able to get some excellent photos – and you will never find a camera that guarantees a perfect keeper rate for such difficult subjects!
Best Cameras for Macro: Full-Frame vs Crop-Sensor
If your goal is to create photos with the highest magnification possible, full-frame cameras are usually overkill for macro photography. Even the Nikon D850 with 46 megapixels cannot match the potential macro detail of the 20 megapixel Nikon D7500, simply because the D7500 has a slightly higher pixel density.
With macro photography, the highest pixel density (most pixels per square millimeter of the sensor) is what determines the maximum detail you can get on your subject. The D850’s large sensor has fewer pixels per millimeter than the crop-sensor D7500, despite having more total pixels. In many genres of photography, larger pixels – and more total pixels – are preferable. With 1:1 macro photography, though, it’s all about pixel density. The reason? When you crop a D850 photo to match images from the D7500, you lose enough pixels that the D7500 wins (though not by much).
Still, full frame cameras are great for macro photography. You shouldn’t think otherwise. If you take photos that aren’t at maximum magnification, they still have all their usual benefits over smaller sensors. So, a full-frame (FX) camera is still generally better for macro photos than a crop-sensor (DX or aps-c) camera, but by a smaller amount than in other types of photography.
Best DSLR for Macro: Canon vs Nikon
For almost all genres of photography, Canon and Nikon (and Sony, and others) are so close in quality that arguments about which is “better” are, at best, extremely picky. Sure, there are differences, but it is rare that any system has a flaw that is fatal for the typical user.
As far as macro photography, this is still true, but you do need to keep some extra considerations in mind. Canon cameras in particular do not calculate aperture in the same way that cameras from other brands do. Specifically, when you shoot at high magnifications like 1:1, the Canon cameras will read your aperture value incorrectly. It might say f/11, when everything about the photo (diffraction, depth of field, and exposure included) acts as if you’re shooting at f/22.
That is because aperture, on any lens, starts to do unexpected things at such high magnifications. In short, when your aperture is physically one size, it acts like another. Nikon, Sony, and other manufacturers all tell you the “functionally correct” aperture (f/22 in this case), while Canon does not. So, you need to keep that in mind when you shoot Canon cameras. This is far from an impossible drawback to overcome, but it is important to know about. The more frequently you change magnifications, the more of a problem this is.
